First, if you scan down the right side of our blog, you'll notice lists of blog links. What's cool is that the list updates the last post on a particular blog in realtime (or close enough). For instance, as I type this I can see that Mike Jackson posted 1 day ago regarding his February 28th paddle. One reader asked how to generate these blog link lists, and as much as I would like to lay claim to phenomenal programming skills, these lists are actually generated by a Bloggger gadget called Blog Lists. Under the Layout tab, click on Page Elements, then add a Gadget, and pick Blog Lists. Blog Lists automatically follows and updates the RSS feed of a blog you've selected, and you can configure how much of that blog's current post to display. And you can have more than one list; we have two, one for local kayaking blogs, and one for blogs from other areas. (I would assume something similar is availble with Wordpress and other blogging services.)
Another reader was inquiring about how I made the new blog header.
Microsoft Word has a feature called WordArt. In Word 2007, you'll find it under the Insert Tab (and it exists in earlier versions, I just can't remember where off the top of my head. Look for something that says Insert in the dropdowns. And I assume a similar feature exists in other programs).
WordArt allows you to treat a piece of Text as an image, so you can stretch it, twist it, and resize it almost any way you want. You can also colour it and apply a fill. Here's where the fun begins. Once you have created your text, right click on it and select Format Word Art. Under Color and Lines, select Fill Effects, then select Picture. Here you can upload a photo or artwork to use as the fill in your text.
The caveat here is that you cannot move the picture around "behind" the text. WordArt plops the picture down where it wants and that's that, so some judicious cropping of your picture may be required before you get the result you want, and it goes without saying that a picture with a horizontal subject will probably work better than one with a vertical subject. Or not -- depends on what you're trying to do or your personal preference, of course. Also, you'll probably want a font with some heft to it. I used Impact on the new header, but Monotone would be another example. You probably don't want to use a thin font like Script.
Once you've got your WordArt text looking the way you want it, you'll still need to do some tweaking in PhotoShop or a similar program (I used Microsoft Digital Image Suite 10). In Word, right click on your WordArt text and copy it, open a new project in your photo program and paste in your text.
You'll need to add a background that's the same colour as the background on your blog (or, you know, not, if you want to get all artsy-fartsy). You'll also probably need to resize your new header as well. I set mine to be 1000 pixels wide. Save it as a jpeg.
Under the Layout tab in Blogger, choose Page Elements, click to edit your Header and load up your fancy new title graphic. (Again, I assume something similar is available with Wordpress etc.)
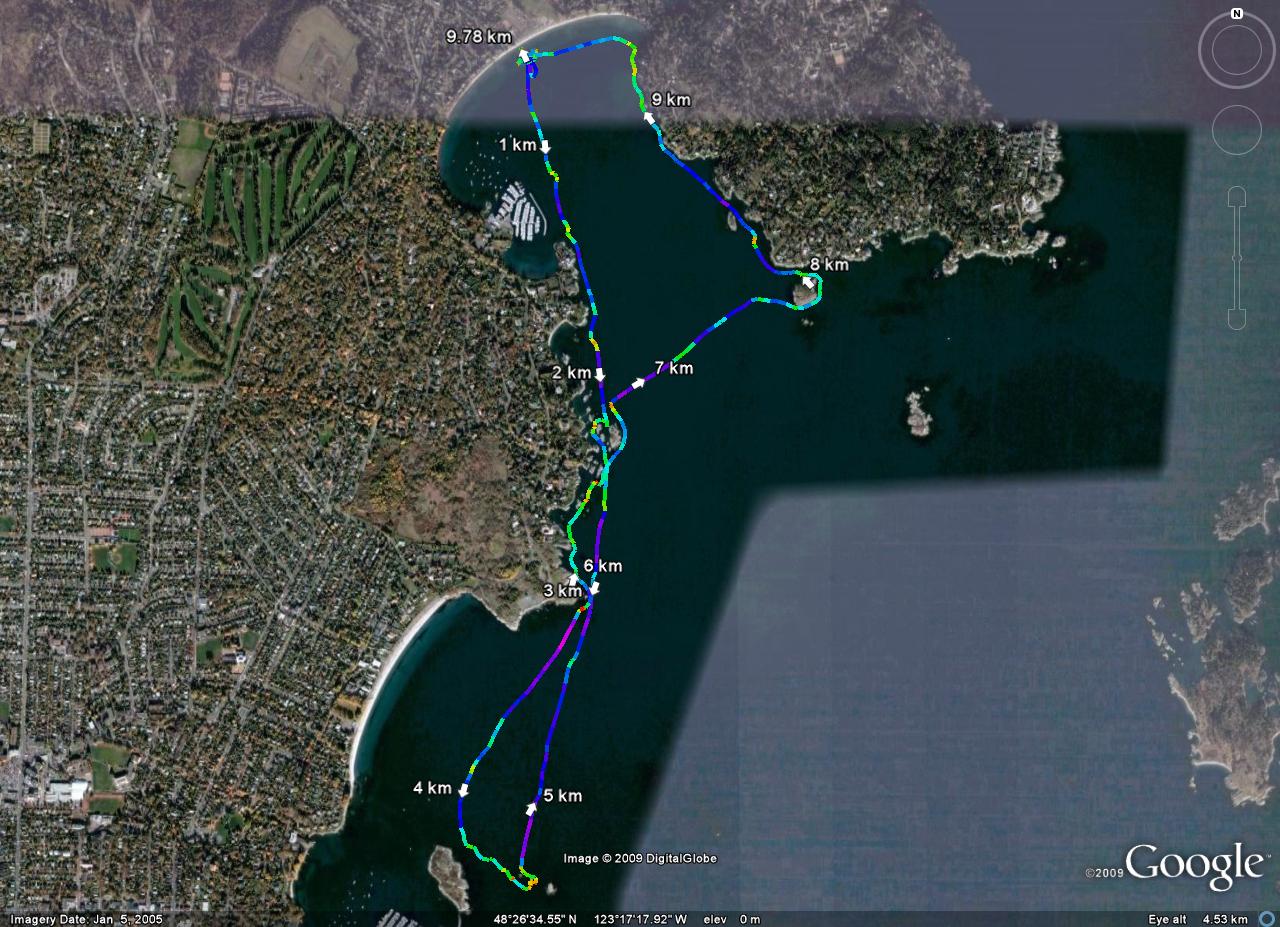
Another reader question: How do we create these GPS Track maps?

Once you've downloaded your track from your GPS (I use a Garmin eTrex Legend HCx) to your computer, you can upload it to GPS Visualizer. Here you can select various outputs: Google Maps, Google Earth, jpegs or others.
What I do is use GPS Visualizer to convert my GPS track to a Google Earth file, then in Google Earth I load it up, and use Google Earth's save image function to generate the picture.
Have fun!


WOW - that was a very speedy reply.
ReplyDeletethank you.
exactly the info i was looking for.
love reading your blog
You're welcome... thanks for the questions! Much easier than trying to think of something to post by myself! :)
ReplyDelete